When you need exhaust auto repair , what do you do? You might dial an exhaust repair shop right away, right? It's only right because auto repair services know exactly what they're doing and you can trust that your vehicle is in the right hands.
However, what if we tell you repairing an exhaust is super simple and you can do it on your own? Once you notice some exhaust leak symptoms like increased engine noise or a loud rumble when accelerating, it's best to think of maintenance and repair for your exhaust system immediately.
After reading this article, you will learn how to find exhaust leaks in your car or truck and then repair them without a welder using some common, inexpensive exhaust pipe repair products. First things first, gather the supplies that you're going to need.
Here's what you'll need:
Exhaust putty
Exhaust tape
Exhaust clamp
Sandpaper (100 grit)
Vacuum
Electric leaf blower
Ramps
In this article, we will talk about how to find an exhaust leak in your car or truck. After finding the leak, we'll guide you through how to seal it and repair it without using a welder. This will be an easy fix using common products you can find at local stores and you can do this at home without spending a lot of money.
You'll know when your car's exhaust is leaking when you hear loud sounds when you turn on the car. This can be bad especially when you're driving. When you step on the gas with an exhaust leak, it could cause check engine lights to come on and you can lose fuel economy. Other times, the engine just doesn't run right. You can also smell fumes coming into the cabin and it can be dangerous to breathe those in.
This article will help you how to find the exhaust leaks and then fix them. Finding the exhaust leak can be difficult but we will guide you through it. Once you find the leak, you can seal it so that it won't cause further damage to your vehicle.
Step 1 - Find the leak. 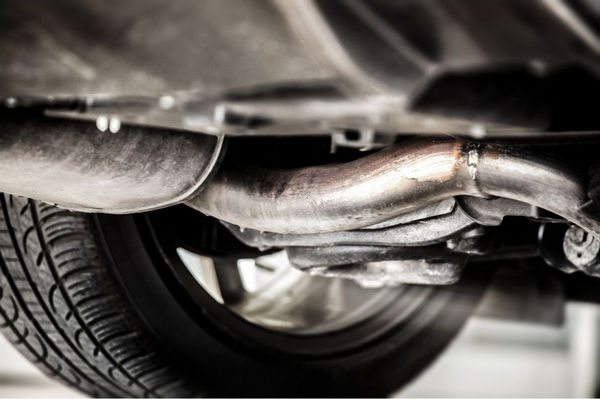
You need to find where that leak is coming from. If the leak is near the front or at the back, use ramps to safely lift your car up for easy access. Once your car is lifted, it's always a good idea to get some wood and chalk off the wheels so they don't roll.
Step 2 - Pressurize the exhaust system
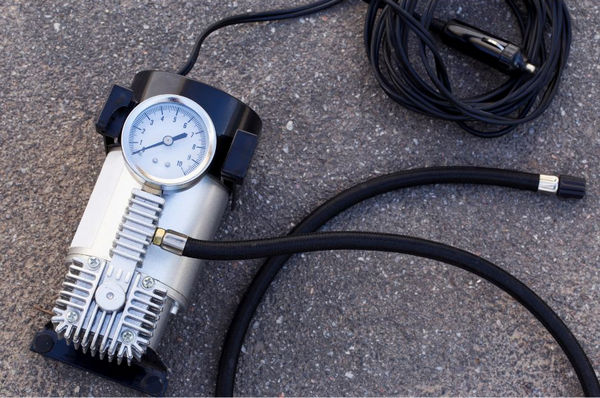
Using a leaf blower, an air compressor, a shop vac, or anything to push air into the exhaust, creates a positive pressure inside the exhaust system.
For this article, we will be using a vacuum as an example. Just shove the hose into the tailpipe and tape it so it doesn't come out. Once you have a positive pressure going into your exhaust, you'll be able to find where the leak is,
Not every car has a single exit exhaust, some cars have a dual exit exhaust so you'll have to use a leaf blower, for example, and mount it up into the exhaust tip and then for the other tip. After that, get a nitrile glove and fit it around the exhaust to seal it, and then tape it off.
So now you know how to pressurize the exhaust with a dual exhaust and also on a single exhaust.
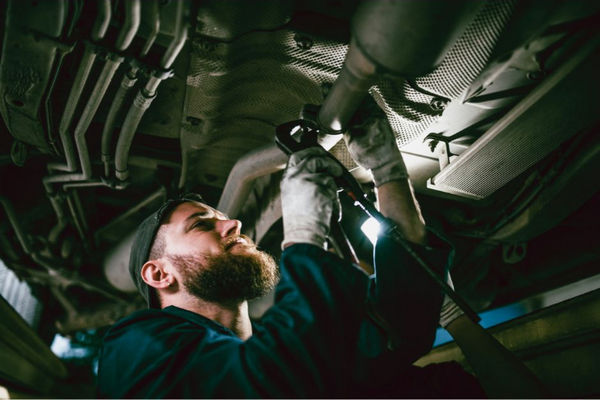
Step 3 - Check the engine. Make sure it's completely cold. 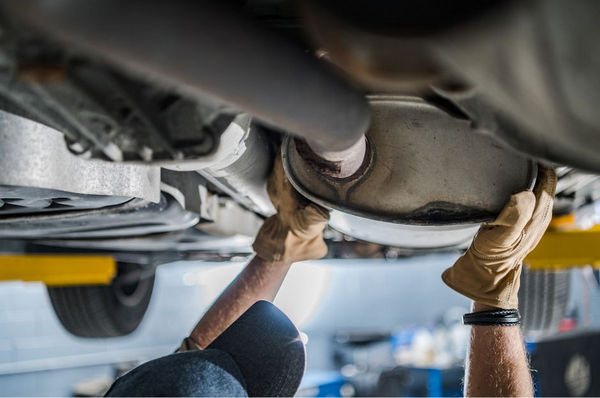
You don't want a hot engine when you're spraying soapy water on the exhaust. When doing this, you're also forcing cooler air into the exhaust and when you cool things down quickly, they could warp or crack and that would be bad news.
So first, make sure that your engine's completely cold. The next thing you want to do is to grab a bucket of soapy water, just a combination of dish soap and water. All you want to do is get something that's going to get really foamy so where the air is escaping you're going to see bubbles. And that's how you pinpoint the leak.
Check the spots on your exhaust that have welds or flanges or connectors because a lot of times these spots are the ones that will leak. Make sure you get those soaking wet and look for air bubbles.
Step 4 - Prep the exhaust for sealing
 Once you know where the leak is, you can use 3 different products to seal the leak. You can use putties, it's a play-doh like substance that you can push into the leak and then it hardens like steel. You can also use a muffler bandage which basically acts like a bandage that you can wrap around the exhaust to seal it. And lastly, you can also use an exhaust band clamp. This goes over the cracked area and seals it off when you tighten it down.
For this article, we will be using a putty seal. Before applying the putty seal, you'll want to prep your exhaust manifold. To do that, grab some sandpaper or a metal wire brush and clean away all the loose dirt and rust, and scratch that metal surface anywhere. This way, the putty will have a nice surface to bond to.
After you sand the area around the exhaust leaks, get a little bit of isopropyl alcohol on a towel and wipe down the areas you just sanded to clean them up to make sure it's free of any dust grease, or dirt. This will also help get a good bonding surface for the seal.
Pro Tip: Take the hose out of the vacuum and flip it around so now that vacuum can suck the air out of the exhaust. This is going to make your repair that much better because now the air is getting sucked in. When you apply the putty, it's going to get pulled and drawn into the holes and the cracks that are causing the exhaust leak. This will help you get a better seal.
Step 5 - Seal the leak 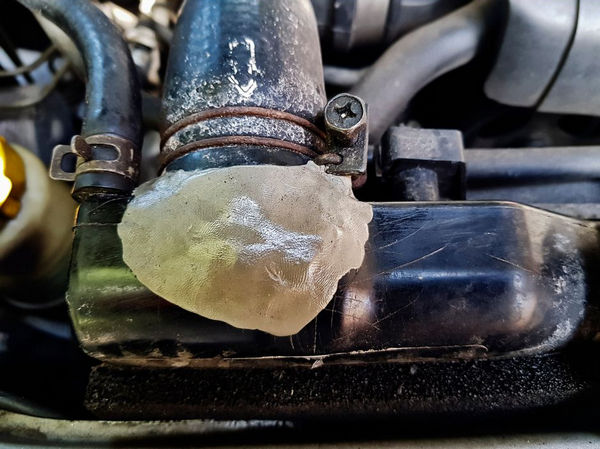
You can use either of the three mentioned in Step 4 to fix your exhaust. Other things that you might need are some gloves, tape, sandpaper, and a metal wire brush. These will help you clean the affected area before fixing it.
Exhaust pipes can get very hot. You want to use a seal that can withstand 2,400 degrees of continuous heat and that's great for exhaust manifolds, tailpipes, mufflers, and such.
Apply the putty to the areas that are leaking. Let it cure for around 2 to 24 hours depending on how hot it is outside. The hotter it is, the quicker it'll cure. You can also use a heat gun or a hair dryer to heat that up and make it cure faster.
Just make sure not to start the engine while doing this. The positive pressure from the exhaust will blow out all that putty and waste all the work that you did.
Step 6 - Let the seal dry

Shut the vacuum off and remove the hose from the exhaust pipe. You don't want to start up the car with that in there.
Just follow these 6 simple steps and you’ll be able to fix your exhaust leak in no time! This process lets you repair the damage with either exhaust putty, tape, or a clamp. See? You don't even need to do some welding in order to fix it. It's that simple!
However, if fixing exhaust leaks is not your thing or can't fit into your busy schedule, no need to worry! Car Geeks is an exhaust repair shop that you can always trust. Give us a call or schedule an appointment to further discuss your car needs and we'll give you a free quotation for the job.